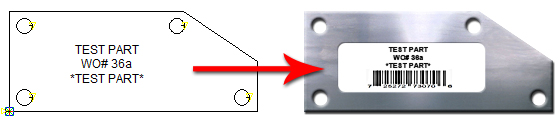
To assist users in tracking production parts during the manufacturing process, labels with text may now be placed on a part using simple interface commands. An auto-generated barcode may also be placed on individual parts, or all the parts on a sheet.
Placing labels on the parts requires special equipment. The Amada Label machine must be placed near the shuttle table; the PSR arm removes parts from the shuttle to the Label machine table, where a stick-on label is placed on each part. The parts are then removed by the PSR to an adjacent standard unloading table.
AP100US must be in Part View to use this option.
Note: This option is driver-dependent; it can only be used with the AMADA ENSIS-AJ LASER PSR V2018 (LABEL) driver.
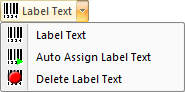
To place text on a part, click Label Text to open the Label Text window shown here -

If needed, the Label machine will re-format the text in order to fit the labels
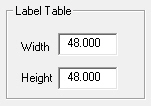
Select a Font and Font Style. Enter the Width and Height dimensions of the label that will be used by the label machine. A standard size might be 1x3 inches.
When the Label Text option is selected for a new part, the default part name will automatically be entered in the Part Name field. The part name may be edited here, but it's best to stay with the original name, because the part must be tracked through all stages of production. Click refresh to return Part Name to the default name.
Part Number, if it has not been saved with the original part, may be entered here.
Work Order must manually be entered into the fields.
Bar Code - Based on the part name, the bar code that will appear on the label is auto-generated by the software. Again, this field is editable, but it's best to remain with the original name.
Click OK to register the label info to that specific part. Information for the current part will remain in the dialog after AP100US has been closed and then re-opened. However, if another part is selected, info previously saved will not appear.
Finally, select Place to manually place the label on the part using the crosshairs as shown here -
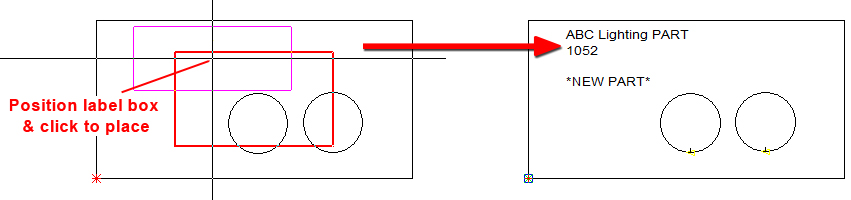
When the user returns to Sheet View,
all similar parts with have the same label
This info entered by the user is passed to the Label machine by the software.
Note: If a part on the sheet is rotated 180 degrees in the CADCAM program, the label for that part will also be rotated to 180. However, for the Label Printer to work, when unloading all parts will be returned to their original 0 angle by the PSR arm.
Auto Assign Label Text
Using this option, text that has already been entered into
the Label Text dialog fields will automatically be placed on all similar
parts on a sheet. The program will place the text at or near the center
of the part(s).
If
more than one part type is on the sheet, the user must select the part
where text will be placed using the Sheet>Select
option. Go to Part View to
place text on the current part; when Sheet View is opened, text will be
on similar parts.
Label Table Size
It's important to enter the correct size
of the Label Machine Table in the
PSR Settings panel. This is especially important for
larger parts that may tilt or possibly fall off the Label Machine Table.
Delete Label Text
Select this option to delete label text from the currently selected
part.