Select New Part from the AP100US Main Menu, or click the New Part button on the Quick Access toolbar to create a new part file. The system will dialogs -

Click Yes to clear the database and to delete all the existing patterns and tooling. When Yes is clicked, the New Part size dialog appears. Enter a size for the new part.
Note: If you clear the database, the system will delete all the existing patterns and tooling and you will have to specify a part size. If you choose not to clear the database, the system will maintain the existing patterns and tooling of the current part that appears in the work area and you will have to redefine the part size.
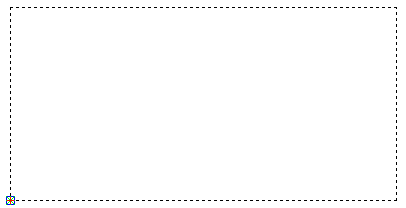
Construction lines that indicate the overall part size will appear –

To add a boundary to the part, see Draw>Polygon Patterns>Rectangle Lines