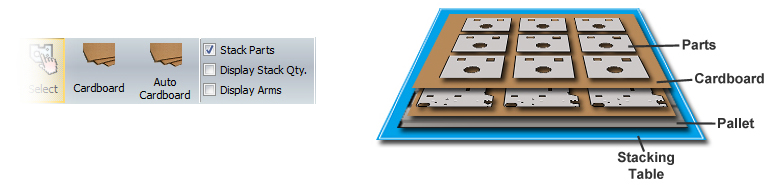
Sheets of cardboard can be placed between parts in order to prevent them from being scratched by other parts or by the pallet itself. This is useful when using material such as polished stainless steel. Stack parts in single layers to use the Cardboard option to best effect.
Add Cardboard (in the AP100US Work Area)
To Manually Insert CardboardNotes:
For the Cardboard options to function, NC and SY2 files must have been generated for the sheet in AP100US prior to being opened in the Part Stacking module. See Generate NC Code in the Modules menu for more info.
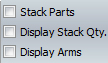
By default the Stack Parts checkbox is checked ON. To have the parts stacked in a single layer as shown on this page, the Stack Parts checkbox must be checked OFF.
Also,
it is better to configure pallet and table arrangements before parts are
imported into the Stacker; however, pallet and table configuration can
be changed at any time. See Stack Table
Menu and Pallets Menu for more info.
|
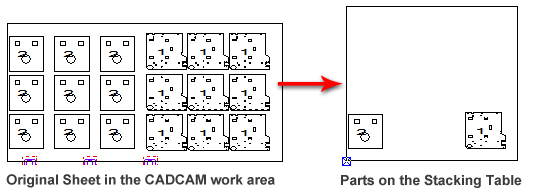
Step 1
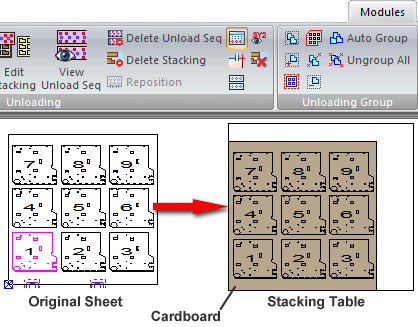
Parts that are unloaded (stacked) from the original sheet to the stacking table in AP100US are passed on to the Stacking Module when the user hits the Edit Stacking icon. Difference in Table Size The original sheet and the stacking table can be the same size, or of different sizes as shown here. The AP100US stacking table configuration is pulled from the Part Stacker module. |
|
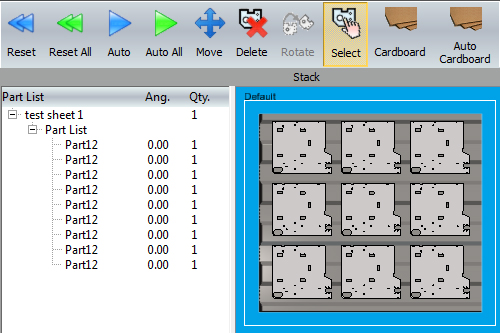
Step 2
After the Stacking module opened with the parts on the stacking table as shown in the above image, the user must hit Reset and then Auto. This results in a layer of nine parts on the pallet/table shown in this image. There isn't any space for the remaining nine parts (Part12) so they have remained in the Part List. They can be manually stacked later. To have parts stacked in one layer, the Stack Parts checkbox must be switched OFF.
Click for info on creating and configuring Stack table layout and Pallet type and layout.
|

|
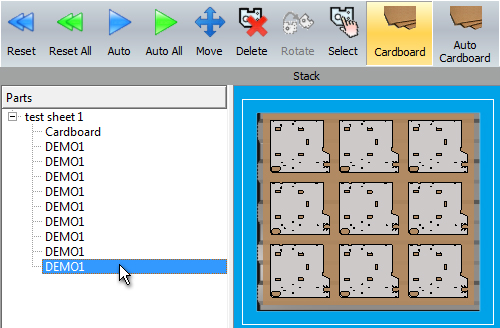
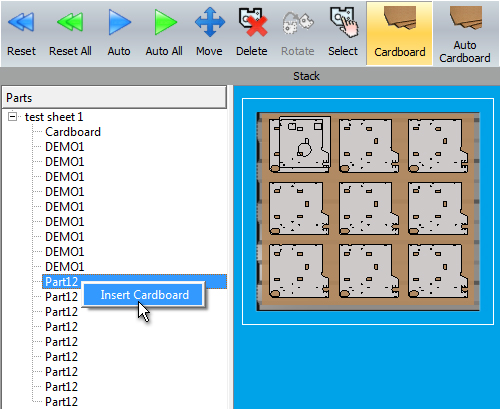
Step 3
When the Cardboard icon is selected, all parts on the pallet will be hidden, but can be found listed in the Part list (replacing the "Part12" parts shown in Step 2). In order to insert cardboard between the pallet and the first layer of parts, right-click the first part in the list and then select Insert Cardboard. The sheet of cardboard will then display under the first part that shows on the pallet as shown here -
|
|
Step 4
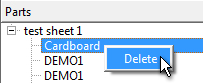
To have all parts for that layer display on the pallet with cardboard, the user must click each part individually or simply click the last part as shown here. This layer is now complete. To remove a sheet of cardboard right-click Cardboard in the list and click Delete.
|
|
Step 5 (Add
Next Layer of Parts)
To turn off the cardboard display click the Cardboard icon, or click any other icon in the Stacker interface. When this is done the original Part List displays again, listing the "Part12" parts that were not stacked. (The cardboard is still in place and is viewable by again selecting the Cardboard icon and then clicking Cardboard in the Part list.) |
|
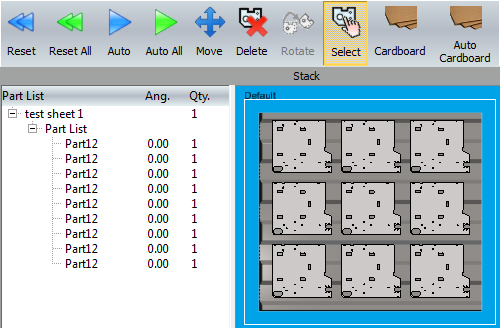
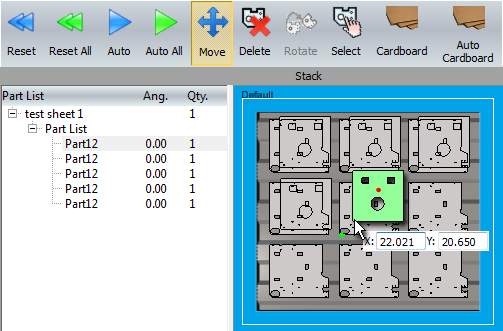
Step 6
The user must manually add the next layer of parts directly onto the sheet. Click a part in the Part List and the cursor automatically attaches itself to the part's base point. Drag it onto the pallet. When a part is dragged onto the pallet, it is highlighted in green as shown here. Notice that the first four parts have already been placed on the pallet. Note: The red "reference center" dot on a part being manually stacked is the pickup center for the part remover arm. See Move in the Stack Menu options for more info. |
|
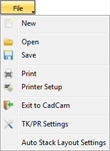
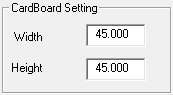
Step 7 After all the "Part12" parts have been stacked onto the pallet, click the Cardboard icon and insert a sheet of cardboard by following the instructions beginning in Step 3. Notice that now in the Parts list all parts that are on the pallet are listed. Cardboard can be inserted before any part by right-clicking the part and selecting Insert Cardboard. This is useful for parts that may be as large as the pallet. For info on configuring cardboard dimensions and placement on the pallet, click on File>Auto Stack Layout Settings.
|
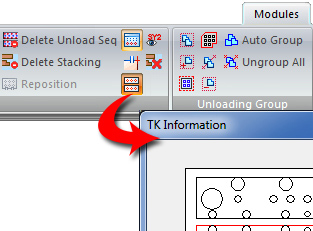
See PSR Unloader Settings or TK Unloader Settings for more info.
Edit
Stacking in AP100US or Part Stacker Module?
Switching off the Part Stacker module
does save on system resources, and working with a stacking table in AP100US
is a more simplified process because much is done according to default
settings. But the Part Stacking module offers the user more precision
and customizable options when stacking parts. Besides that, all stacking
tables and table layouts that are used in the AP100US work area can only
be created and configured in the Part Stacker module.
Note: When stacking in the CAM program the system will use settings from the Auto Stacking Layout Settings dialog in the Stacking Module.