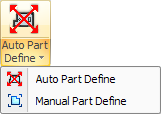
The Manual Part Define and Auto Part Define (below) options on the Part Define submenu allow part size to be redefined whenever entities are added to the perimeter. While in Part View the software considers the size of the part as the length and width of a rectangle that encloses the edges.
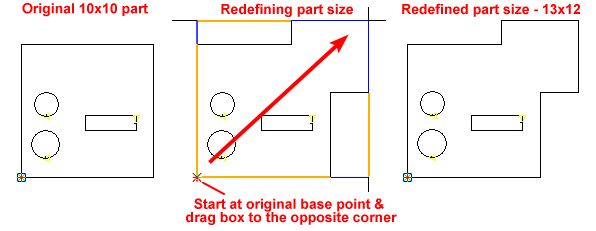
When the New Part option is selected, the system requests a part size. If a size such as 10x10 is entered for the new part and the part is drawn within the construction lines, the size of 10x10 is accurate. But if patterns extend beyond these imaginary boundaries (enlarging the part perimeters), the new part size must be recalculated.
After editing a part select Manual Part Define to drag out a box or marquee on the part to define the new size. Drag out the box to include all the features of the new part and the outlines of what you consider the size. Begin by placing the cursor in the lower left corner of the box (Part Origin). Right-click to snap the cursor to the corner and then left-click to start the box. Drag the box to the upper right corner and right-click/left-click again to finalize. At the final left-click the system recalculates or redefines the part size.
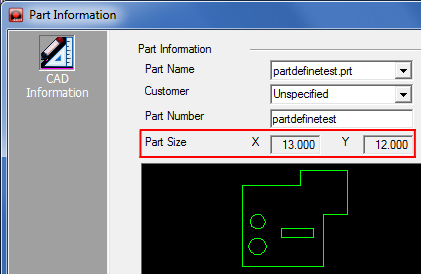
To check the new part size open the Part Info/CAD Info panel. Notice the new part size of 13 x 12.
When part boundaries are redefined, the base point (in the lower-left corner by default) will be adjusted.

Note: If the part spreads beyond its boundaries while defining macros, use the Macros>Redefine Part option, rather than Auto Part Define.
Auto Part Define