![]()
This option allows the user to select the Common Cutting Start corner for single or multiple straight edge cutting.
Note: This option takes effect on the external boundary of gridded/grouped parts. To control the cutting of internal cutouts, see Machine Setting>Sequence Info.
Prepare the Sheet
When preparing a sheet, the parts on the sheet must be gridded. Any distance between parts, rows and columns is acceptable. (This is useful when common cutting only in the X or Y.)
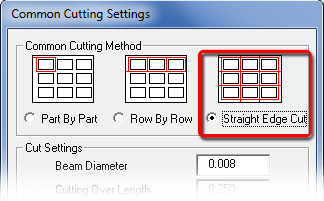
Be sure that Straight Edge Cut in the Common Cutting Settings dialog is selected. (Other settings and cut options in this dialog may be used with Edit Start Corner.)

Edit Start Corner will temporarily
over-ride the Starting Corner selection
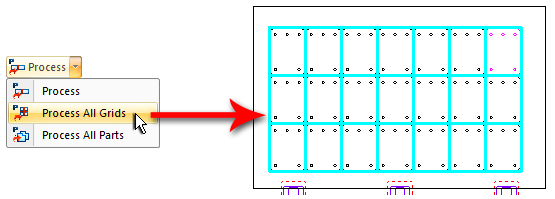
Next, the grid(s) on the sheet must be processed using one of the Processing options in the Common Cutting sub-menu. After the grid is processed, the parts/grids will be outlined in blue as shown in the image on the right.

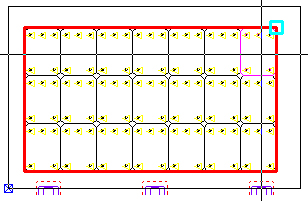
Now click the Edit Start Corner icon and move the crosshair into the work area and over a grid. Left-click on or near the desired corner of the grid to place the new start corner as shown in this image.
.

The Edit Start Corner tool
is the small blue square
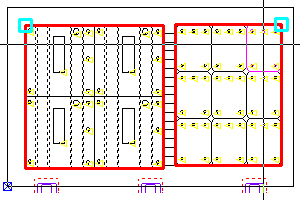
The Edit Start Corner option can be used with multiple grids on a sheet, as seen here. To assign a new start corner, left-click as the crosshair is passed over an individual grid to cause the blue square to appear. Different grids may have different start corners. New start corners can only be placed on the upper perimeter of a grid.

To view the effect select either View Sequence or View Process on the Common Cutting submenu.