Deleting Patterns

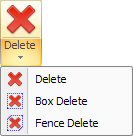
The options on the Delete Patterns submenu allow patterns to be erased. Delete single patterns or select multiple patterns by dragging out a box or fence around them.
Single Patterns Box Delete Fence Delete Undelete Pattern
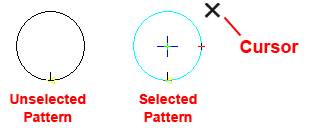
Use to select and erase single patterns. Move the pointer near the Round pattern until it highlights. The “X” indicates the actual position of the mouse pointer. The small crosshair within the Round indicates that the pattern will be deleted when the left mouse button is clicked. The option remains active until the pointer is moved out of the work area.
Note: Enabling Snap Mode when deleting patterns makes it easier to select a specific pattern.

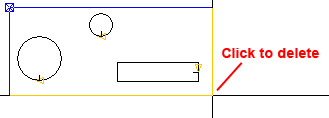
With Box Delete drag out a rectangular box, or marquee, around multiple patterns. Click at a starting corner (the upper-left corner in the image), drag out the box to enclose the patterns to be deleted and then left-click to finalize.

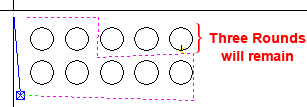
The Fence Delete option functions like Box Delete, This option functions like Box Delete, but a series of lines must be drawn to enclose the patterns. Specify the starting point and ending point of each line, and then right-click to have the final line segment snap to the starting point of the first line. Left-click to finalize and enclosed patterns will be deleted.

Undelete Pattern restores the last pattern(s) that were erased using any of the Delete Patterns options. However, if the file is saved, or you toggle between Part and SHEET View, the deleted pattern cannot be restored. Of course, to restore a deleted pattern the user may also use the Undo button on the Quick Access Toolbar.